Hi all,
Let's discuss about a New Services came up with NAV 2013 - ODATA. In the post we will see the basic introduction about ODATA, how to enable it and how it can be browsed.
Later on we will discuss on how to consume data exposed via ODATA.
If you see the service console of NAV 2013 aka Microsoft Dynamics NAV Administration you will see a separate tab for ODATA Services as shown below -

As you can see the parameters in this tab are pretty self explanatory.
First thing need to be done is Enable OData services from the console if it is not enable by default.
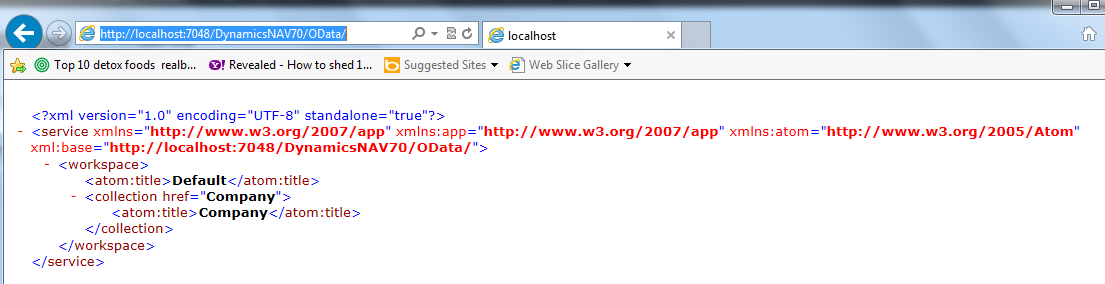
Let's try to browse the the port in Internet Explorer.
The URL to test the ODATA Services is - http://localhost:7048/DynamicsNAV70/OData/
Where -
Localhost - is the Server name where it is hosted (in my case it is hosted on local machine).
:7084 - is the port where it is hosted on server.
DynamicsNAV70 - Service Instance Name.
OData - is open data protocol.
Here is what i got response of above query from Internet Explorer.

So as of now nothing has been exposed. Exposing is same as of NAV 2009 version with an addition, we can expose Pages, Codeunits and Queries.
Open the NAV 2013 windows Client and navigate to
Departments/Administration/IT Administration/General/Web Services
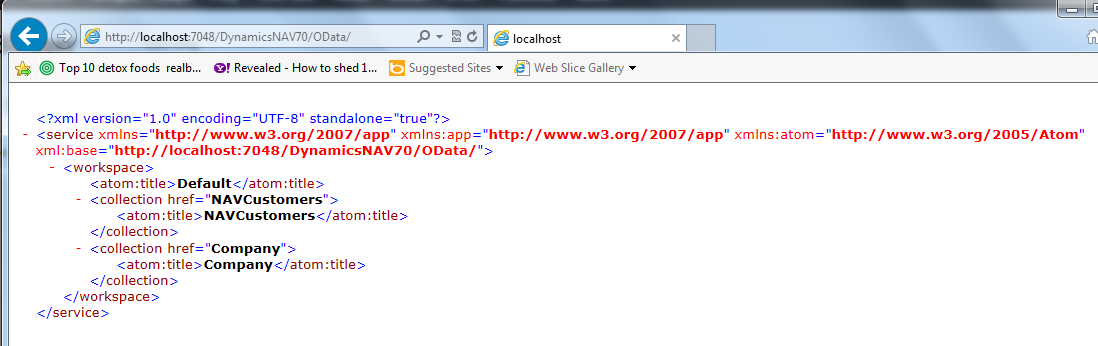
Edit the page and expose the object you want. I am using Customer Card, Page 21.
I name it NAVCustomers as shown.

Lets refresh the URL in Internet Explorer. Yeah, i can see NAVCustomers there in the list.

Let's try to find the data that is exposed. But How?
Here is the URL for same - http://localhost:7048/DynamicsNAV70/OData/NAVCustomers

In right hand side you can see the No of records the have been feeded.
we will see the consumption of feed in Next Post.
Regards,
Saurav Dhyani
www.sauravdhyani.com
Let's discuss about a New Services came up with NAV 2013 - ODATA. In the post we will see the basic introduction about ODATA, how to enable it and how it can be browsed.
Later on we will discuss on how to consume data exposed via ODATA.
If you see the service console of NAV 2013 aka Microsoft Dynamics NAV Administration you will see a separate tab for ODATA Services as shown below -

As you can see the parameters in this tab are pretty self explanatory.
First thing need to be done is Enable OData services from the console if it is not enable by default.
Let's try to browse the the port in Internet Explorer.
The URL to test the ODATA Services is - http://localhost:7048/DynamicsNAV70/OData/
Where -
Localhost - is the Server name where it is hosted (in my case it is hosted on local machine).
:7084 - is the port where it is hosted on server.
DynamicsNAV70 - Service Instance Name.
OData - is open data protocol.
Here is what i got response of above query from Internet Explorer.
So as of now nothing has been exposed. Exposing is same as of NAV 2009 version with an addition, we can expose Pages, Codeunits and Queries.
Open the NAV 2013 windows Client and navigate to
Departments/Administration/IT Administration/General/Web Services
Edit the page and expose the object you want. I am using Customer Card, Page 21.
I name it NAVCustomers as shown.

Lets refresh the URL in Internet Explorer. Yeah, i can see NAVCustomers there in the list.
Let's try to find the data that is exposed. But How?
Here is the URL for same - http://localhost:7048/DynamicsNAV70/OData/NAVCustomers

In right hand side you can see the No of records the have been feeded.
we will see the consumption of feed in Next Post.
Regards,
Saurav Dhyani
www.sauravdhyani.com
Comments
Post a Comment